Monday, May 31, 2021

Now Loading


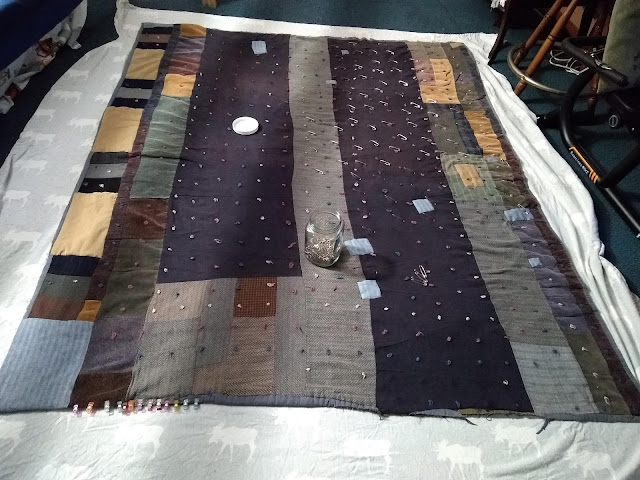
I finished this top a few years ago. It may be my oldest UFO to date. (Quilting lingo: UFO - unfinished object.)  You can read about it here. This is probably one of my favorite quilts. I love royal blue! Unfortunately, I had to put it on the back burner so I could make two graduation quilts in two years. I have one "spare" year before I do two more graduation quilts in two years. With that being said, I am now attempting to load it on the hand quilting frame.
 

I say attempting because I pinned the backing to the wrong rail and had to start all over.
Not fun.
I was frustrated with myself and thought that I'd write down the instructions to prevent this from happening again. Upon getting my quilting notebook I discovered my notes from before. This reaffirmed my thought that I had loaded the backing wrong. At least I know how to do it now!
I made myself laugh...go ahead and laugh with me...or at me, if you like.


Armed with my instructions, I proceeded to load the top on it's rail.
It's not difficult but very tedious.
Pinning the quilt top to the leader fabric is the first step.
Then rolling, smoothing, checking, repeat...SEVERAL times.


Once I got the top loaded I decided to give it a rest for the evening.
I had already done this twice by this point...

The loading process will be repeated two more times.
Once for the backing and then the batting.
I'd like to get it loaded and ready before the end of the week.
We'll see.

Saturday, May 08, 2021

Quilt Repair Done!

I have finished the quilt repair!

I'm thrilled to have this done.

It took way longer than anticipated but that's OK, I learned a lot.


Repair patches on the backside.


Pin basting a recycled flannel sheet to the quilt.
Instead of removing the old backing I covered it.
This is how the original quilt was made, by adding new layers.
In some places I think I saw two layers inside.
Which is why it's so heavy!


This is the second quilt I have backed from our old moose flannel sheets.


The material proved challenging to pull a thick needle through.
Pliers to the rescue! (Thanks to a tip I read.)
It took about a week to untie and re-tie.


I did the binding in the same fashion as the original by folding the back over to the front.
It took a little over a week to sew the binding down.


Before (bottom) and after (top).


We asked relatives as to when grandma made this quilt.
The best guess was sometime in the 50's.

This is a HEAVY quilt. We dub it the "lead" quilt because of its weight.
I weighed it before I started because I was going to add to it.
It started out at 9 pounds.
It now weighs a whopping 10.8 pounds!

Repaired size:
66" x 78 1/2"